期末考试完了,大学阶段最后一次考试,也是最后一个暑假了。也有一段时间没有总结了,今天总结一个界面性能优化的方法
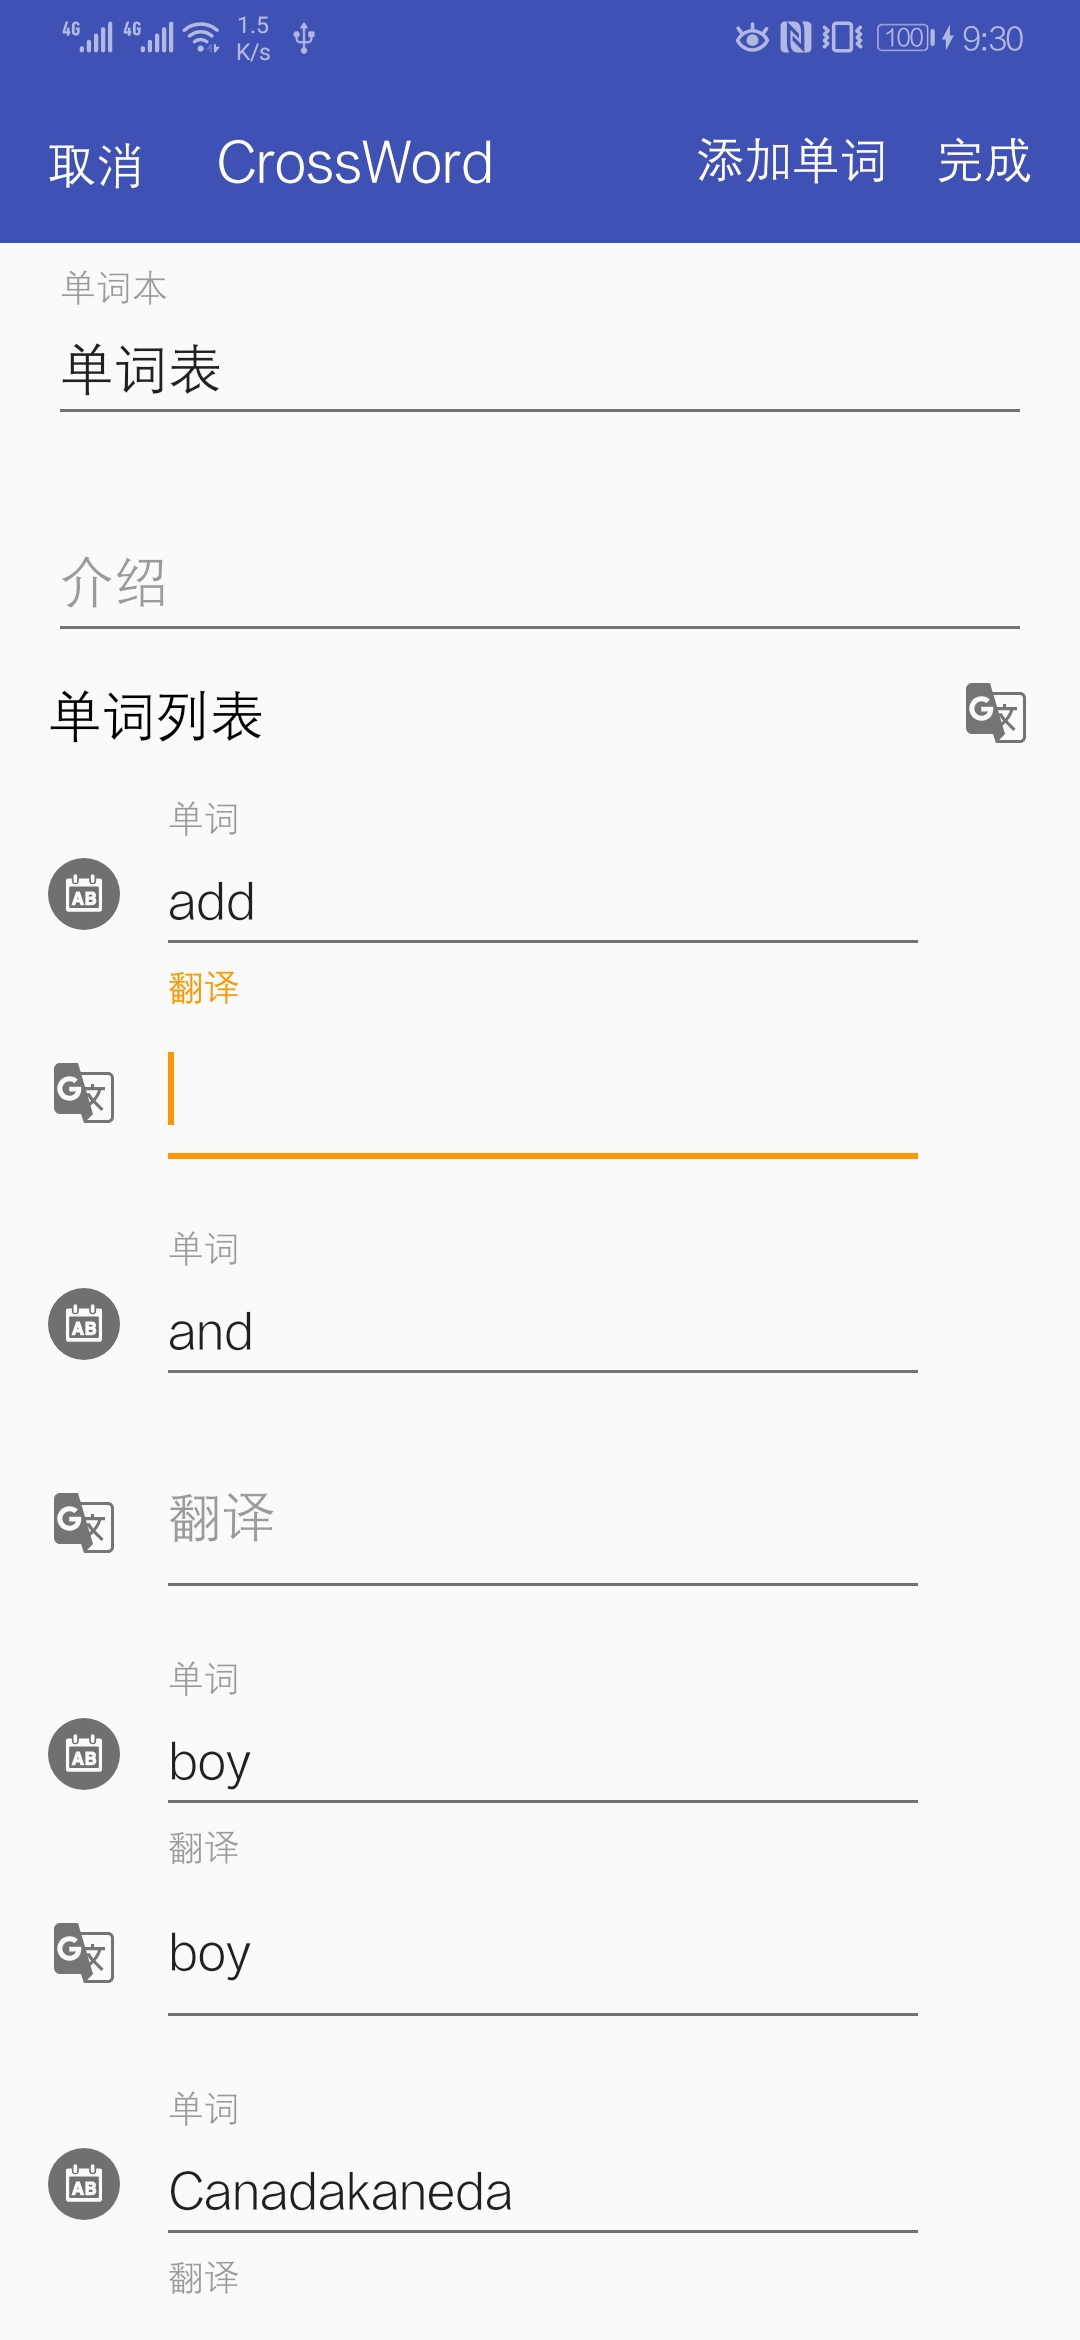
需求是,将整个页面当成一个整体可以上下滑动,该布局由上下两段组成(上面的两个输入框和一个相对布局,下面是一个RecyclerView),放到一个NestedScrollView中形成可以上下滑动的整体布局。这样有个弊端,当RecyclerView中的数据比较多的时候比如超过五十条item,那么整体滑动起来会变得非常卡顿,基本就是手指离开滚动就停止。
先上布局图片:
布局代码
1 | <android.support.v4.widget.NestedScrollView |
之前的解决方案
在网上查阅了很多网友总结的解决方案比如设置他的两条属性:1
2recyclerView.setHasFixedSize(true);
recyclerView.setNestedScrollingEnabled(false);
一条是让item的尺寸大小收到adapter影响,一个是关闭Recyclerview的滑动,使用scrolview来进行滑动,这样当数据量小的时候确实可以做到滑动平滑。
这样的属性一旦item数目较大(亲测超过50个时候)就会变得卡顿,尤其是拉倒最底部然后再向上滑动时候,出现卡顿,FPS可谓十分低,更不用说让用户和item交互了进行文本输入以及其他交互了。
这样的原理是,当下拉加载时候将item全部都加载完毕,然后将布局作为一个整体来上下滑动,这完全牺牲了RecyclerView原本的自动回收机制,数据多仍使得性能低下。
我的解决方案
既然想让整体上下滑动,又要有RecyclerView的自动回收机制,那么就使用一个控件来解决需求即可。将Recyclerview作为滑动的控件,将上部分作为一个整体当成一个item,作为headerView加在Recyclerview的头部。这样一来,整体就是一个高性能的Recyclerview了,而且布局样式一点都没有收到影响。如图: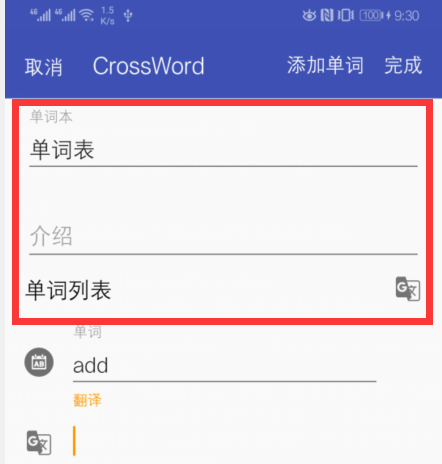
我使用的是严振杰大佬的开源控件SwipRecyclerView,地址为:SwipeRecyclerView
首先需要将控件集成到项目
1
2//多功能的RecyclerView
implementation 'com.yanzhenjie.recyclerview:support:1.3.2'修改后的布局代码
红框内的布局,单独创建一个新布局文件header_layout.xml,将之前布局上方部分抠出来单独放进去即可。1
2
3
4
5
6
7
8
9
10
11
12
13
14
15
16
17
18
19
20
21
22
23
24
25
26
27
28
29
30
31
32
33
34
35
36
37
38
39
40
41
42
43
44
45
46
47
48
49
50
51
52
53
54
55
56
57
58
59
60
61
62
63
64
65
66
67
68
69
70
71<LinearLayout
xmlns:android="http://schemas.android.com/apk/res/android"
android:layout_width="match_parent"
android:layout_height="match_parent"
android:orientation="vertical">
<LinearLayout
android:layout_width="match_parent"
android:layout_height="wrap_content"
android:layout_marginHorizontal="16dp"
android:orientation="vertical">
<android.support.design.widget.TextInputLayout
android:layout_width="match_parent"
android:layout_height="wrap_content"
android:paddingTop="8dp">
<EditText
android:id="@+id/book_name_edit"
android:layout_width="match_parent"
android:layout_height="wrap_content"
android:hint="@string/book_title" />
</android.support.design.widget.TextInputLayout>
<android.support.design.widget.TextInputLayout
android:layout_width="match_parent"
android:layout_height="wrap_content"
android:paddingTop="16dp">
<EditText
android:id="@+id/book_introduction_edit"
android:layout_width="match_parent"
android:layout_height="wrap_content"
android:hint="@string/book_instruction" />
</android.support.design.widget.TextInputLayout>
</LinearLayout>
<RelativeLayout
android:layout_width="match_parent"
android:layout_height="wrap_content"
android:layout_marginHorizontal="16dp"
android:layout_marginVertical="8dp">
<TextView
android:layout_width="wrap_content"
android:layout_height="wrap_content"
android:layout_alignParentLeft="true"
android:text="@string/word_list"
android:textAppearance="@style/TextAppearance.AppCompat.Medium"
android:textColor="#000" />
<Button
android:id="@+id/translate_btn"
android:layout_width="24dp"
android:layout_height="24dp"
android:layout_alignParentRight="true"
android:layout_marginRight="0dp"
android:background="@drawable/ic_g_translate_black_24dp"
android:focusable="false"
android:onClick="TranslateClick"
android:padding="12dp" />
</RelativeLayout>
</LinearLayout>
将之前的Recyclerview使用SwipRecyclerView替换如下,抠出来headerView然后修改之前的布局为1
2
3
4
5
6
7
8
9
10
11
12
13
14
15<LinearLayout xmlns:android="http://schemas.android.com/apk/res/android"
xmlns:app="http://schemas.android.com/apk/res-auto"
xmlns:tools="http://schemas.android.com/tools"
android:layout_width="match_parent"
android:layout_height="match_parent"
android:orientation="vertical"
tools:context=".activity.EditBookActivity">
<com.yanzhenjie.recyclerview.SwipeRecyclerView
android:id="@+id/edit_book_recyclerView"
android:layout_width="match_parent"
android:layout_height="wrap_content" />
</LinearLayout>
实现
这样一来看起来简洁了许多接下来就是代码实现。注意使用的控件为SwipRecyclerView(和RecyclerView是父子类关系)1
2
3
4
5
6
7
8
9
10
11
12
13
14
15
16
17
18//其他初始化操作获取控件等
.
.
recyclerView.setLayoutManager(new LinearLayoutManager(this));
adapter = new EditBookWordsAdapter(this, wordsInfoList);
recyclerView.setAdapter(adapter);
//将上部分布局改为headrview
View headerView=getLayoutInflater().inflate(R.layout.edit_word_headerview,recyclerView,false);
//获取到headerview中的子控件
nEditText=headerView.findViewById(R.id.book_name_edit);
iEditText=headerView.findViewById(R.id.book_introduction_edit);
translate_btn=headerView.findViewById(R.id.translate_btn);
//获取到控件添加自己其他操作
nEditText.setText(book.getName());
iEditText.setText(book.getIntroduction());
//最后使用addHeaderView添加到Recyclerview
recyclerView.addHeaderView(headerView);特别注意,添加一个HeaderView,凡是通过ViewHolder拿到的position都要减去添加的HeaderView 的数量才能正确获取到position,这在原文档也强调了。
另外也提供了其他的一些方法1
2
3
4
5
6
7
8addHeaderView(View); // 添加HeaderView。
removeHeaderView(View); // 移除HeaderView。
addFooterView(View); // 添加FooterView。
removeFooterView(View); // 移除FooterView。
getHeaderItemCount(); // 获取HeaderView个数。
getFooterItemCount(); // 获取FooterView个数。
getItemViewType(int); // 获取Item的ViewType,包括HeaderView、FooterView、普通ItemView。
//添加/移除HeaderView/FooterView和setAdapter()的调用不分先后顺序。